Thursday, July 18, 2013

Caprese Salad


Caprese Salad is so easy and delicious. It's definitely a must for many dinners to come!

We found a simple recipe here, but doubled it and used dried basil instead of fresh leaves. 


Tuesday, July 9, 2013

DIY: Jeans to Jorts Transformation


What's better than a pair of 1990's "Mom Jeans" from the local thrift store? A pair that you can transform into the ever-popular destroyed jort!   


We've been wanting to try the DIY "destroyed jean short" for a while now, so when we found the perfect pair of Calvin Kleins at the store, we knew it was time. 

We followed a few different tutorials and combined them below...

1. Try on your jeans and mark with a pencil how long you want them. (Make sure to cut under the line initially, you can always chop more off.)   


2. Cut one leg, then fold the jeans over and cut the same length off the other leg.    


 3. Try your jeans back on to make sure this is the length you want them to be. We ended up cutting quite a bit more length off. 


 4. Turn the shorts inside out and look closely at how the blue and white lines appear. The blue strands run up and down the shorts, while the white strands run horizontally. 


 5. Decide where you would like your "destroyed" areas, then cut short horizontal lines about 1 cm apart from eachother. (After you make the small initial cuts, you can lengthen them to make the "destroyed" section larger.)


 6. The ends of the blue strands should be slightly sticking out of each line you cut. Take a pair of tweezers and pull on one of the blue strand ends until it comes out. (The first few strands are the hardest to get ahold of. It gets easier, we promise!)


7. Warning: this will make a mess! Pull the blue strands out of each row until all you have are white horizontal strands between the lines you previously cut. 


8. Turn your shorts right-side-out and make any additional "destroyed" areas you want. 


9. Lastly, wash and dry them with the rest of your laundry. They will come out destroyed...just like you wanted! 


Wednesday, July 3, 2013

Chalkboard Spice Rack


Does the title of this post make any sense? Probably not...but it's about to!

A few weeks ago we picked up a new spice rack. But naturally, it didn't come with all the spices we consistently use. 

In order to switch out some of the less-used spices, we needed to find a way to label the new ones we replaced them with. 


Then it hit us...chalkboard paint! We could take off the printed sticker labels and spray the tops with chalkboard paint we found at our local craft store. 


We sprayed three light coats, with ample drying time in between. After 24 hours, we started labeling with regular chalk.


Not only do we get to use and display our favorite spices, they look so much cuter! 


Sunday, June 23, 2013

DIY: Race Tag Board


With a family full of runners, we have more race tags than we can count! 

They represent fun times and great accomplishments, which should be proudly displayed. The problem is that no one ever knows where to put them. 
We saw a great DIY project using a wood board that solved all of our race tag problems! 

What you'll need:

A Wood Board 
2 Metal Clips
Wood Glue
Paint & Brushes (one small and one large)

1. Take your largest race tag with you to find the board 
so you don't buy one that's too small. 

2. Paint the board your base color, wait for it to dry, then use a pencil to draw on the letters. This ensures that everything is centered and spelled correctly before you start painting!
3. After your board is dry, it's time to glue on the clips.
We've seen some race boards that have hooks instead of clips; however, every race tag is different and all may not fit on just 1 or 2 sets of hooks. 

We leaned ours up on a shelf, but you could hang it up on a wall with Command Strips or purchase a board that already has "wall-hanging" ability.


These make great gifts for any active person. Just find out their favorite colors and paint accordingly! 

Tuesday, March 12, 2013

Easy Seasoning


We used some (extremely) easy seasoning tips to make a few snacks out of things we already had in the kitchen.


These seasoned chick peas are a great salty snack alternative to potato chips! 

How To:
1. Use paper towels to blot dry a 15 oz. can of chick peas. 

2. In a bowl, toss chick peas with 2 Tbsp. of olive oil. Add seasoning salt and garlic powder to taste.

3. Spread onto a baking 
sheet and bake for 
35 minutes at 400 degrees F.


Eat these tangy cucumbers as a refreshing spring snack or as a side to your favorite meal!


How To:  
1. Cut one cucumber
into 1/4 inch slices.

2. Sprinkle with lemon
juice , olive oil, 
seasoning salt and  
chile powder. 
All to taste.

3. Mix together 
and serve cold. 


We love cabbage, especially mixed with other veggies, but after some seasoning, these were delicious on their own!

How To:
1. Brush a baking sheet
with 1 Tbsp. of olive 
oil. 

2. Cut cabbage into 
1-inch thick slices 
and lay them on the 
baking sheet.

4. Brush 2 Tbsp. of 
olive oil onto the 
tops. Sprinkle with 
seasoning salt, 
pepper, and garlic 
powder. 

5. Bake at 400 degrees
F for 40 minutes, or 
until golden and tender. 

Tuesday, February 26, 2013

Baking Bread


We stumbled upon a "Basic Bread Recipe" and figured...how hard could it be? Well it wasn't difficult, but it was time consuming. So make sure you have a few hours to devote to your homemade loaf.

Ingredients:
1/4 Cup Almond Milk
1 1/2 Tbps. Sugar
1 tsp. Salt
1 1/2 Tbps. Butter/Margarine 
1 Package Active Dry Yeast
3/4 Cup Warm Water (105 to 115 degrees F)
2 1/2 to 3 Cups All-Purpose Flour

Instructions:
Place milk, sugar, salt and butter in a saucepan. 
Heat over low heat until butter melts and sugar dissolves. Cool to lukewarm. 

Dissolve yeast in warm water in a mixer bowl. Add lukewarm milk mixture and 2 cups flour. Attach bowl and dough hook to mixer, turn to Speed 2 and mix about 1 minute. 

Continuing on Speed 2, add remaining flour, 1/2 cup at a time, and mix until dough clings to hook and cleans sides of the bowl. Kneed on Speed 2 about 2 minutes longer, or until dough is smooth and elastic. Dough will be slightly sticky to the touch. 


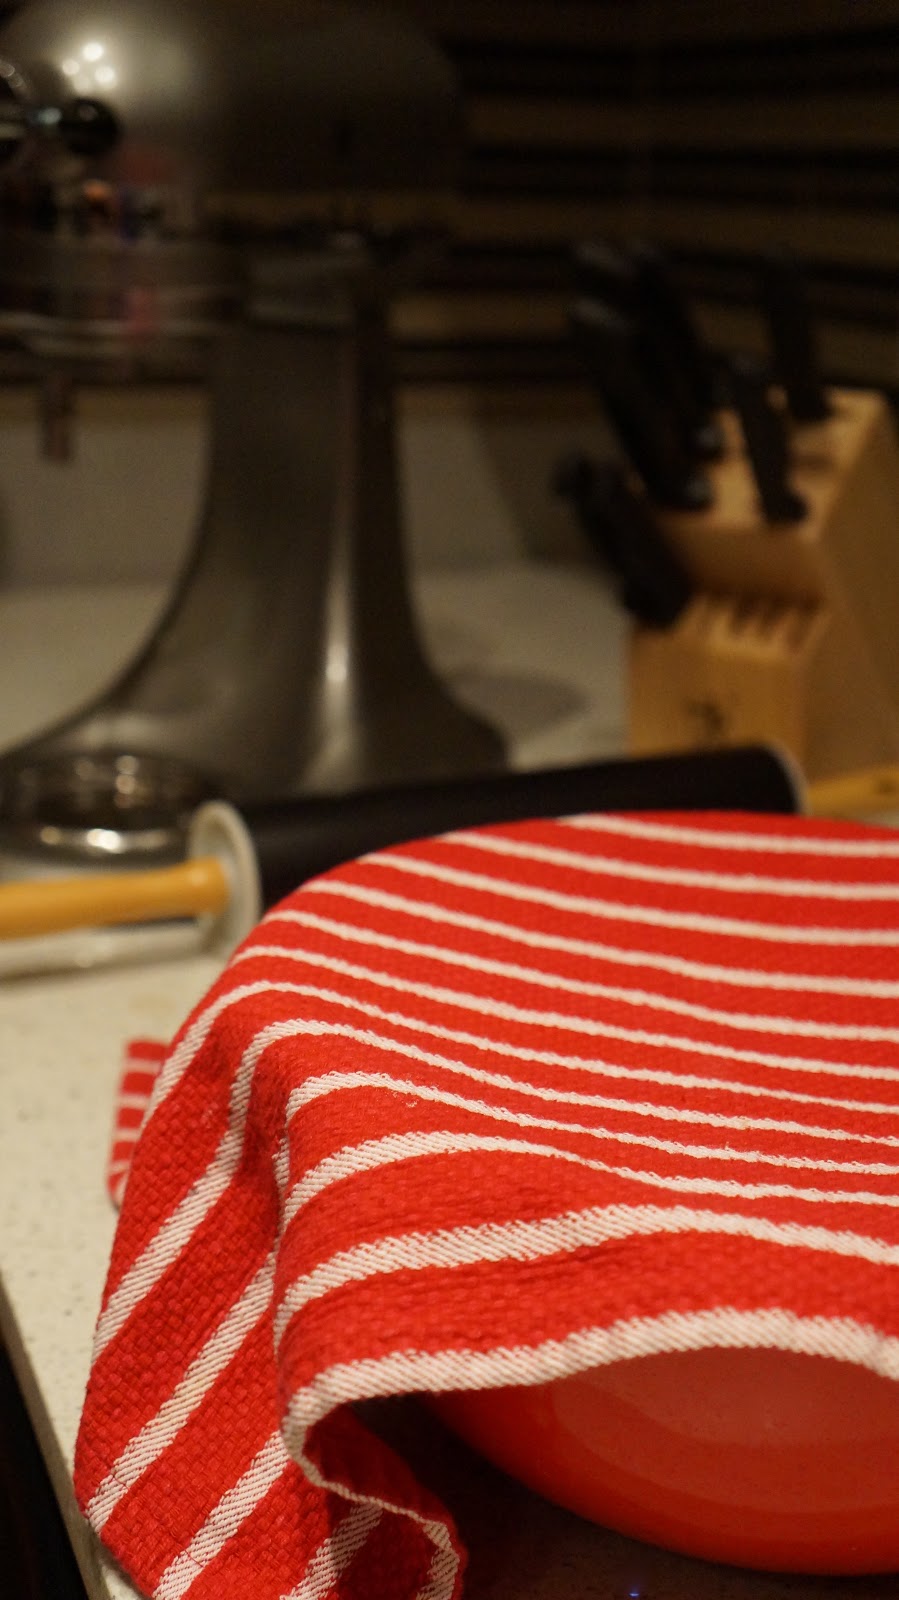
Place dough in a greased bowl, turning to grease the top. Cover. Let rise in a warm place, free from draft, about 1 hour or until doubled in bulk. 


Punch dough down and roll into a rectangle on a lightly floured surface. Use a rolling pin to smooth the dough and remove gas bubbles. Starting at a short end, roll the dough tightly and punch to seal the seam (Will look like a long cinnamon roll.) Pinch the ends and turn them under. 

Place the dough, seam side down, in a greased loaf pan. Cover. Let rise in a warm place, free from draft, about 1 hour or until doubled in bulk. 


Bake at 400 degrees F until golden brown, about 30 minutes. Remove from pan immediately and cool on wire racks. 

Sunday, February 24, 2013

Sweetheart Strawberry Pies


Everyone loves homemade desserts, so why not make some sweets for you and your Valentine?


We used a basic pie crust recipe from here
After rolling the dough flat, shape it into four hearts 
then add fresh strawberries and jam onto two. 
Cover with the remaining two hearts, pinch the ends with a fork, 
and bake at 350 degrees for 25 minutes.